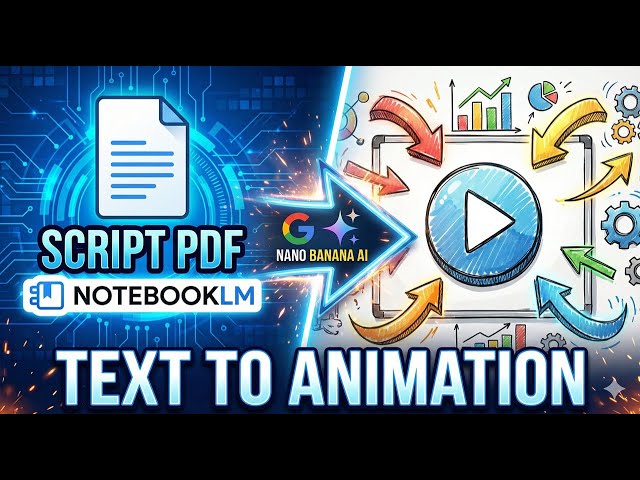
Are you looking for a dynamic way to present your well-organized notes from NotebookLM? Whiteboard animation can bring your ideas to life, making them more engaging and memorable for your audience. In this tutorial, we’ll break down the process of turning your NotebookLM notes into captivating whiteboard animations, inspired by the Nano Banana Pro workflow.
Step 1: Prepare Your NotebookLM Notes
First things first, ensure your NotebookLM notes are concise, well-structured, and ready for visual representation. Think about the key points you want to convey and how they can be broken down into visual chunks.
Step 2: Outline Your Animation Script
Before you jump into the animation software, create a script based on your notes. This script will guide your visuals and narration. Consider:
- Scene Breakdown: Divide your content into distinct scenes.
- Visual Ideas: For each scene, jot down ideas for images or illustrations that represent your notes.
- Narration: Write out the voiceover script that will accompany your visuals.
Step 3: Choose Your Whiteboard Animation Software
There are many great options available, such as VideoScribe, Doodly, or Explaindio. Nano Banana Pro likely has a preferred tool, but the principles generally apply across different platforms. For this example, let’s assume we’re using a popular option like VideoScribe.
Step 4: Import Your Assets and Start Illustrating
Once you’re in your chosen software, it’s time to bring your script to life!
- Import Images: If you have specific images in mind, you can import them into the software.
- Use Built-in Libraries: Most whiteboard animation software comes with extensive libraries of pre-drawn images and icons. Search for visuals that match your notes and script.
- Draw Your Own: If you’re feeling artistic, you can often draw custom images directly within the software or import your own SVG files.
Step 5: Animate and Time Your Scenes
This is where the magic happens!
- Set Draw Times: Adjust how quickly each image is drawn on the screen.
- Sequence Elements: Arrange the order in which elements appear to match your narration.
- Add Transitions: Use subtle transitions between scenes to maintain a smooth flow.
Step 6: Record or Import Your Voiceover
A clear and engaging voiceover is crucial for effective whiteboard animation.
- Record Directly: Many software options allow you to record your voiceover directly within the application.
- Import Audio: If you’ve recorded your narration separately (perhaps using a professional microphone), you can import the audio file.
Step 7: Add Background Music and Sound Effects (Optional)
Enhance the viewer’s experience with appropriate background music and sound effects.
- Choose Royalty-Free Music: Select music that complements the tone of your animation without distracting from the content.
- Strategic Sound Effects: Use sound effects sparingly to highlight key moments or add a touch of personality.
Step 8: Preview and Refine
Watch your animation from start to finish.
- Check Timing: Does the narration sync well with the visuals?
- Review Visuals: Are the images clear and do they effectively convey your notes?
- Proofread: Ensure there are no typos in any on-screen text.
Step 9: Render and Share Your Masterpiece!
Once you’re happy with your animation, render it in your desired format (e.g., MP4) and share it with your audience! Whether it’s for a presentation, an educational video, or a marketing piece, your whiteboard animation will surely leave a lasting impression.
By following these steps, you can effectively transform your detailed NotebookLM notes into dynamic and engaging whiteboard animations, just like the pros at Nano Banana!
Leave a Reply